Kubectl-AI: Enhance Kubernetes Management with AI
kubectl-ai Introduction
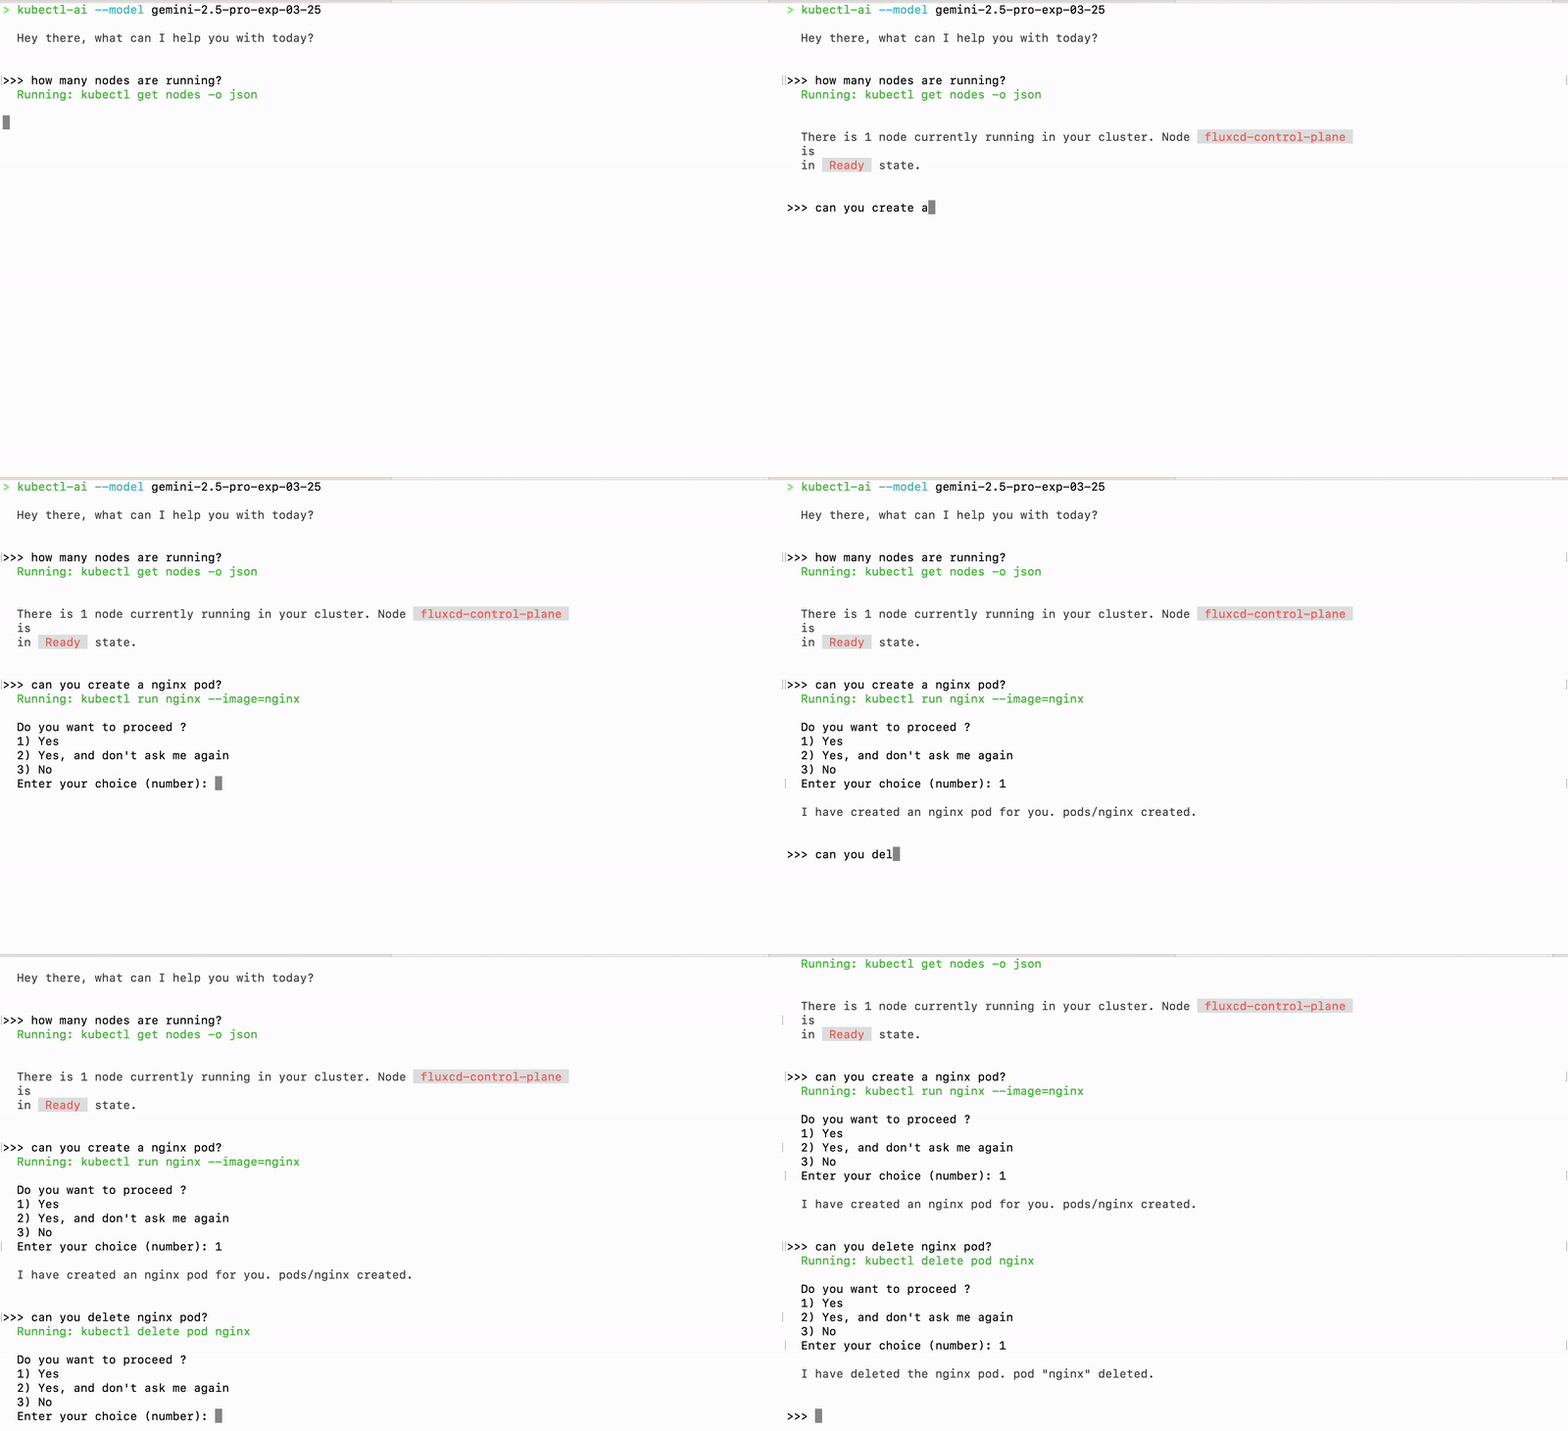
kubectl-ai is a plugin and CLI tool that turns natural-language queries into Kubernetes commands. Instead of memorizing kubectl flags or YAML manifests, you simply ask questions like “show me all pods in the default namespace” or “scale the nginx deployment to 5 replicas,” and kubectl-ai figures out the exact kubectl commands to run. Under the hood it uses large language models (LLMs) to parse your intent, then executes the corresponding kubectl operations and returns both the raw output and an explanation in plain English.
Key benefits:
- Natural-language interface: No more guessing flag names or resource kinds.
- Context awareness: In interactive mode, follow-on questions (“What about in the staging cluster?”) carry context.
- Extensible backends: Works with commercial LLMs (Gemini, OpenAI, Azure OpenAI, Grok) or fully offline local models (Ollama, llama.cpp).
- Scriptable & pipable: Use it in CI, scripts, or combine with shell pipes (
echo … | kubectl-ai).

Installation
You need a working kubectl binary configured against your cluster, plus one of these ways to install kubectl-ai itself:
Quick Install (Linux & macOS)
curl -sSL https://raw.githubusercontent.com/GoogleCloudPlatform/kubectl-ai/main/install.sh | bash
This will download the latest release, install the kubectl-ai binary into ~/.local/bin (or similar), and add it to your PATH for the current session.
Manual Installation (Linux, macOS & Windows)
-
Visit the releases page and download the archive matching your OS/arch (e.g.
kubectl-ai_Darwin_arm64.tar.gzfor Apple Silicon macOS). -
Unpack, make executable, and move into your PATH:
tar -zxvf kubectl-ai_Darwin_arm64.tar.gz
chmod +x kubectl-ai
sudo mv kubectl-ai /usr/local/bin/ -
Verify installation:
kubectl-ai version
Usage
Once installed, you can run kubectl-ai in two main modes: using cloud-hosted LLMs (Gemini by default) or local models (Ollama/llama.cpp).
Using Gemini (Default)
-
Obtain a key
Go to Google AI Studio, create a project, and copy your Gemini API key. -
Export the environment variable
export GEMINI_API_KEY="your_gemini_api_key_here" -
Run
kubectl-ai-
Interactive shell:
kubectl-aiYou’ll get a
kubectl-ai>prompt where you can ask a sequence of questions. -
Single-query mode:
kubectl-ai --quiet "fetch logs for nginx app in hello namespace"
-
-
Switch models (optional)
# Use a specific Gemini model
kubectl-ai --model gemini-2.5-pro-exp-03-25 "list services in default"
Using AI Models Running Locally (Ollama or llama.cpp)
You can run entirely offline by hosting your own LLM with either Ollama or llama.cpp. Below are detailed steps for each:
A. Ollama
-
Install Ollama
# macOS via Homebrew
brew install ollama
# or Linux via their install script
curl -fsSL https://ollama.com/install.sh | sh
Alternatively, you can download the Ollama binary directly from their website:
- Visit the Ollama download page.
- Click on the Download for macOS button.
- Once the download is complete, locate the .zip file in your ~/Downloads folder.
- Double-click the .zip file to extract its contents. This should create Ollama.app.
- Move the Ollama.app to your Applications folder for easy access.
- Open the Applications folder and double-click on Ollama.app to launch it.
- Follow any on-screen instructions to complete the installation.
- Once installed, you can run the Ollama CLI commands in your terminal.
-
Run the Ollama server
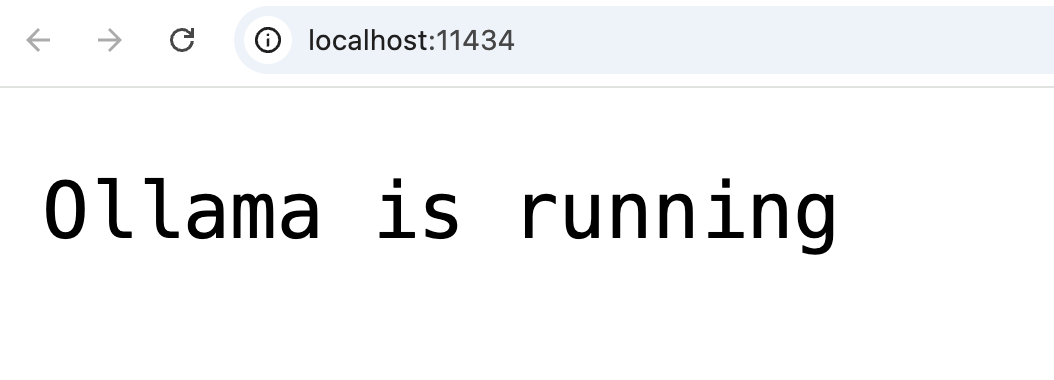
ollama serveBy default, this listens on
http://localhost:11434.
-
Pull a model
ollama pull gemma3:12b-it-qatThis downloads the
gemma3:12b-it-qatmodel, which is optimized for Kubernetes tasks.
-
List models
ollama listThis command will show you all the models you have downloaded and their status.
 You should see
 gemma3:12b-it-qatin the list. -
Configure
kubectl-aiexport OLLAMA_HOST="http://localhost:11434"
kubectl-ai \
--llm-provider=ollama \
--model=gemma3:12b-it-qat \
--enable-tool-use-shimThe
--enable-tool-use-shimflag ensures the prompt includes the right instructions for invokingkubectl. This is important for the model to understand how to interact with Kubernetes.
-
Use it
- Interactive:
kubectl-ai - Single query:
kubectl-ai --quiet "describe deployment my-app"
- Interactive:
-
Remove a model
ollama remove gemma3:12b-it-qatThis command will delete the model from your local machine.
-
Stop the server
ollama stopThis command will stop the Ollama server.
B. llama.cpp
-
Install or build
# Homebrew (macOS/Linux)
brew install llama.cpp
The formula is automatically updated with new llama.cpp releases.
-
Get a model
- Download a GGUF (quantized) model from Hugging Face (e.g.
alpaca-7b-q4_0.gguf). - Place it in
~/models/or your chosen directory.
- Download a GGUF (quantized) model from Hugging Face (e.g.
-
Run the server
./main --model ~/models/alpaca-7b-q4_0.gguf --serverThis starts an OpenAI-compatible API on
http://127.0.0.1:8080. -
Configure
kubectl-aiexport LLAMA_CPP_SERVER="http://127.0.0.1:8080"
kubectl-ai \
--llm-provider=llama.cpp \
--model=alpaca-7b-q4_0.gguf \
--enable-tool-use-shim -
Use it
- Interactive:
kubectl-ai - Single query:
kubectl-ai --quiet "scale deployment nginx to 4 replicas"
- Interactive:
References
With these sections in place, users have everything needed to get started with kubectl-ai—from installation through cloud (Gemini) or local (Ollama/llama.cpp) usage.